Sunday 7 December 2014

Gingerbread cookie dough and bourbon caramel icecream

Yes, you did read correctly, this icecream has chunks of gingerbread cookie dough and a nice swirl of bourbon caramel through it. It is not great for the kids (obviously) as it has some alcohol in it but feel free to make the caramel without the bourbon which will make it more kid-friendly. You could even leave the caramel out.

I am currently having a bowl of this icecream and it is so good! It is creamy and gingerbready, all the things you want in a gingerbread icecream. You don't need any toppings at all because it is full of delicious things. I don't think there is anything more to say apart from give it a try.

Mmmmm! Yum!


Gingerbread cookie dough and bourbon caramel icecream

Ingredients

Caramel
170 g thickened cream
1 vanilla bean, split and scraped or 1 tsp vanilla bean paste or 1 tbsp vanilla extract
20 g unsalted butter
100 g sugar
pinch salt
1 tbsp -1/4 cup bourbon (optional)

Gingerbread (or use your favourite eggless gingerbread)
2.25 cups self raising flour
1.5 tsp ground ginger
1 tsp ground cinnamon
3/4 tsp ground clove
1.2 tsp ground nutmeg
90 g butter, chopped
110 g dark brown sugar (or 1 cup firmly packed)
90 g (1/2 cup) treacle
1/3 cup milk

Icecream base
1 cup milk
3/4 cup sugar
2 cups thickened cream
2 tsp vanilla extract or 1 tsp vanilla bean paste

Method

First you need to make your caramel as it will require time to cool before mixing it into your icecream. This caramel is also delicious on top of sourdough pancakes- yum! Taking the caramel to the foxy brown colour gives it a more bitter flavour, so if you are making this icecream for kids, don't take it as far when caramelising the sugar.

Caramel
1. Bring cream and vanilla bean (not the scrapings) to the boil. Turn off the heat and let steep for an hour or more. If you are short on time (this is what I did) you can add either vanilla bean paste or vanilla extract to your cream and bring to the boil.
2. Place sugar in a medium saucepan (it needs to be medium sized or your caramel may boil over the sides) and shake to make sure it is an even layer. Place over medium heat until the sugar melts and becomes a foxy brown colour. 
Even coating of sugar on the bottom of the pan.
Sugar beginning to melt.
More melted.
Nearly all melted.
Foxy brown sugar.

3. Add 1/4 of the cream (be careful as it will boil and produce a large amount of steam) and swirl the pan until the boiling subsides. Add the rest of the cream and swirl until it is mixed through.
Adding the cream.
4. Stir the butter, vanilla bean scrapings (if using) and the salt through. Place in a bowl to cool. 
Adding the butter and salt.

5. Once the caramel has cooled to room temperature, add your bourbon and stir to mix through. Start with one tablespoon and then continue to add more until it suits your taste. I used 1/4 cup but think this may have been a little too much.

Next make your gingerbread cookie dough. This recipe is just my favourite cookie dough from Women's weekly Bake but with the egg substituted for milk.

Gingerbread (I only ended up using half of the dough in my icecream as I thought it would be enough- you can use the rest for your Christmas baking)
1. Blend flour, butter and spices in your food processor until it resembles breadcrumbs. 

All of the ingredients ready to be processed.
Looking like breadcrumbs.
2. Add brown sugar, treacle and milk and mix in the food processor until the dough comes into a ball. 

Addition of sugar and treacle.

3. Remove from processor and squash flat on some clingwrap and place in the freezer for 15 mins. 
Final dough.
Ready to go into the freezer.

Once all of your components are ready, get your icecream maker set up. 

Icecream
1. Dissolve sugar in the cold milk with a whisk. I find it easiest to prepare this mixture in a jug as it is easier to pour into your icecream maker but if you don't have a jug, you can use a bowl that you have cooled prior to using.

Mixing in the sugar.

2. Add the thickened cream and vanilla and mix to combine. 

Mixing in the cream and vanilla bean scrapings.

3. Gradually pour your mixture into the icecream maker and allow to mix for 20 minutes.

Pouring the mixture into the icecream maker.

4. Remove your gingerbread dough from the freezer, remove the plastic wrap and chop into small pieces (I only used half of the gingerbread dough in my icecream and it was plenty for me).
5. Add the gingerbread pieces to your icecream maker and allow to mix for a further 5-10 minutes.
6. Place half of your icecream into a container and spoon some of your caramel on top (be generous); swirl through with a fork. Place the other half of your icecream on top followed by another caramel swirl.

With a layer of caramel on top before swirling.

7. Place into the freezer to firm up. If you like soft serve style icecream, you can eat it right away, otherwise, I recommend waiting for 3-4 hours before serving.

8. Enjoy!


Gingerbread cookie dough and bourbon caramel icecream

Ingredients

Caramel
170 g thickened cream
1 vanilla bean, split and scraped or 1 tsp vanilla bean paste or 1 tbsp vanilla extract
20 g unsalted butter
100 g sugar
pinch salt
1 tbsp -1/4 cup bourbon (optional)

Gingerbread (or use your favourite eggless gingerbread)
2.25 cups self raising flour
1.5 tsp ground ginger
1 tsp ground cinnamon
3/4 tsp ground clove
1.2 tsp ground nutmeg
90 g butter, chopped
110 g dark brown sugar (or 1 cup firmly packed)
90 g (1/2 cup) treacle
1/3 cup milk

Icecream base
1 cup milk
3/4 cup sugar
2 cups thickened cream
2 tsp vanilla extract or 1 tsp vanilla bean paste

Method

First you need to make your caramel as it will require time to cool before mixing it into your icecream. This caramel is also delicious on top of sourdough pancakes- yum! Taking the caramel to the foxy brown colour gives it a more bitter flavour, so if you are making this icecream for kids, don't take it as far when caramelising the sugar.

Caramel
1. Bring cream and vanilla bean (not the scrapings) to the boil. Turn off the heat and let steep for an hour or more. If you are short on time (this is what I did) you can add either vanilla bean paste or vanilla extract to your cream and bring to the boil.
2. Place sugar in a medium saucepan (it needs to be medium sized or your caramel may boil over the sides) and shake to make sure it is an even layer. Place over medium heat until the sugar melts and becomes a foxy brown colour. 
3. Add 1/4 of the cream (be careful as it will boil and produce a large amount of steam) and swirl the pan until the boiling subsides. Add the rest of the cream and swirl until it is mixed through.
4. Stir the butter, vanilla bean scrapings (if using) and the salt through. Place in a bowl to cool. 
5. Once the caramel has cooled to room temperature, add your bourbon and stir to mix through. Start with one tablespoon and then continue to add more until it suits your taste. I used 1/4 cup but think this may have been a little too much.

Next make your gingerbread cookie dough. This recipe is just my favourite cookie dough from Women's weekly Bake but with the egg substituted for milk.

Gingerbread
1. Blend flour, butter and spices in your food processor until it resembles breadcrumbs. 
2. Add brown sugar, treacle and milk and mix in the food processor until the dough comes into a ball. 
3. Remove from processor and squash flat on some clingwrap and place in the freezer to firm up. 

Once all of your components are ready, get your icecream maker set up. 

Icecream
1. Dissolve sugar in the cold milk with a whisk. I find it easiest to prepare this mixture in a jug as it is easier to pour into your icecream maker but if you don't have a jug you can use, you can use a bowl that you have cooled prior to using.
2. Add the thickened cream and vanilla and mix to combine. 
3. Gradually pour your mixture into the icecream maker and allow to mix for 20 minutes.
4. Remove your gingerbread dough from the freezer, remove the plastic wrap and chop into small pieces (I only used half of the gingerbread dough in my icecream and it was plenty for me).
5. Add the gingerbread pieces to your icecream maker and allow to mix for a further 5-10 minutes.
6. Place half of your icecream into a container and spoon some of your caramel on top (be generous); swirl through with a fork. Place the other half of your icecream on top followed by another caramel swirl.
7. Place into the freezer to firm up. If you like soft serve style icecream, you can eat it right away, otherwise, I recommend waiting for 3-4 hours before serving. 


 What is your favourite thing about Christmas time?


Saturday 5 July 2014

Apricot and white chocolate muffins

So this week, the magic left over ingredients from cooking dinners are........ Apricot nectar and sour cream!! Being me, I can't let anything go to waste so I decided to use up all of these ingredients to make a lunchbox snack for my partner. 

The use of the sour cream and baking soda makes for a delightfully light and fluffy muffin. I think if I made them again I would add some dried apricot as these muffins didn't really turn out very apricotty. Having said that, dried apricots aren't really my partner's "thing" so I omitted them this time. To be honest, you could use this recipe as a base for different flavours of muffin (maybe add in some dried strawberries and white chocolate and you have strawberries and cream flavour, add some dark chocolate chunks for chocolatey ones, white chocolate and macadamia, dates, almonds, there are so many possibilities!!) Get creative! :)


Apricot and White Chocolate Muffins (makes 15)

Ingredients
60 g Butter, softened
200 g (1 cup) Sugar
1 cup Apricot nectar
3/4 cup Sour cream
2 1/4 cup Plain flour
1 1/2 tsp Baking powder
1/2 tsp Baking soda
1/2 tsp Cinnamon
Pinch of salt
120 g (2/3 cup) White chocolate, roughly chopped (could use white chocolate chips)*
30 g (1/3 cup) Walnuts, chopped*
*= You could just add any dried fruit, nuts or chocolate chips that you desire. (make it up to one cup). You could also omit if you want a plain muffin.

Method

1. Preheat oven to 180 degrees Celcius.
2. Line a muffin tray with muffin pans.
3. Beat butter and sugar together with electric beaters.

Beaten butter and sugar.

4. Add sour cream, eggs, and apricot nectar and mix well (I whisked it as it was making a mess with the electric beater).
Ready to mix!

All whisked together.
5. Add flour, baking powder, salt and baking soda. Mix until combined (you can use a hand beater for this part).

Adding the dry ingredients.

6. Stir through the white chocolate, cinnamon and walnuts or any other things you would like to mix through.

Adding the mix-ins
7. Spoon the batter into the muffin pans to 2/3 of the way full and bake at 180 degrees Celcius for 25-30 minutes or until browned on top and a skewer comes out clean when inserted into the centre. 


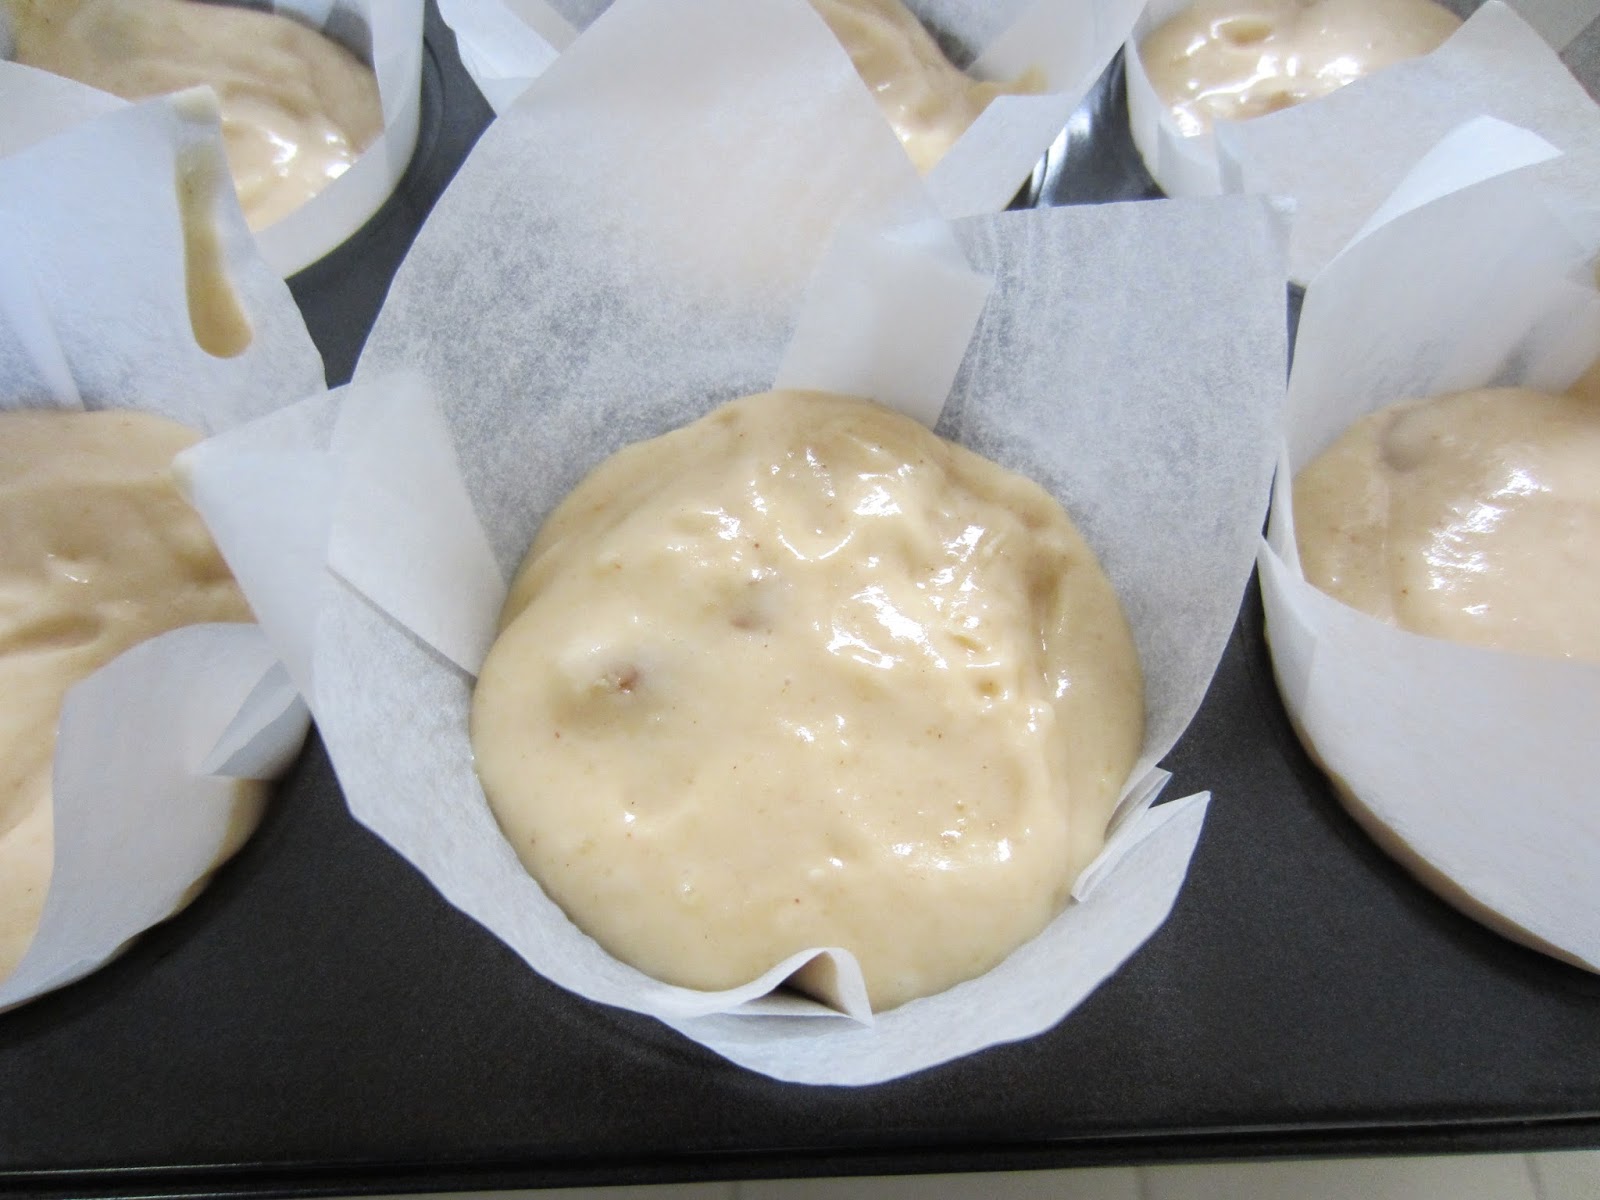
Ready to bake!!
8. Remove from oven and allow to sit in pans for 5 mins before removing.


Waiting to be ready.
9. Enjoy!

Delicious as an afternoon treat!


What would you add to your muffins?

Saturday 28 June 2014

Black bean, Lentil and Beetroot brownies

This week I have been trying out a few new recipes. The recipes have been really delicious but they don't use whole cans of bean/lentils etc. This really annoys me because I am then left over with a bunch of food that I wouldn't really freeze and that I have no plans for for next week. So I decided to try and make some brownies to use all these ingredients up. I also had some left over roasted beetroots (that I had picked from our garden and roasted) so I thought I would add them in as I have made chocolate beetroot cake before and it was yummy! As a result, this recipe uses weird amounts of beans and lentils (ie. not full can amounts) so feel free to try this with a full can of black beans instead of a mixture of lentils and beans.


This recipe is very easy to prepare (just blend, fold, bake) and results in some dense brownies that are not too sweet and are quite rich in chocolate flavour.   


Black bean, lentil and beetroot brownies

Ingredients

190 g black beans, well rinsed
130 g lentils, well rinsed (can omit these and add a whole can of black beans instead)
70 g roasted beetroot
80 g brown sugar (1/2 cup firmly packed) (if you are a sweet tooth, add 3/4 cup sugar or 120 g)
1/2 cup cocoa
2 eggs
2 tbsp milk
1 tsp vanilla extract
10 g coconut oil
1 tsp apple cider vinegar
1/2 tsp baking powder
1/2 tsp baking soda
1 cup (110 g) roughly chopped walnuts, pecans or chocolate chips

Method

1. Preheat oven to 180 degrees celcius (350 F).
2. Place black beans, lentils, beetroot, brown sugar, cocoa, eggs, vanilla extract, coconut oil apple cider vinegar, baking powder and baking soda in the bowl of a food processor and blend until smooth. 
All of the ingredients ready to be blended.
3. Fold through the walnuts.
Folding through the walnuts.
4. Grease a muffin tray and spoon the batter into the tray (this recipe made 12 large brownies and 6 mini brownies). Spread the batter out unless you want some rustic looking brownies like mine. 
Baking time!!
5. Bake for 20 minutes or until cooked through. 

Mmmm! Brownies!
 6. Enjoy!


Tuesday 10 June 2014

Mini Lemon and Poppyseed Friands

It's citrus time again! Specifically, lemon time. I love lemons; their tang, the smell of the zest... Mmmm! Delish! This year, my friend from work had lots and lots of lemons on her tree and I was lucky enough to acquire some of these lemons so we have been having a lot of lemony foods including: lemon chilli chicken pasta, lemon and coconut braised chickpeas with spinach and of course lemon friands. 

Lovely lemons

Friands have, funnily enough, always scared me to make. I have no idea why, maybe it's because they are French?! Recently, I decided to give them a go and I found that they are actually really easy and delicious. I love the dense almond texture and the flavour that the almonds give the mixture. I was craving this almondy flavour and texture combination so I decided that I would make some friands and mix in some of the lovely lemons I had around the place.

These friands are lightly lemony and with the addition of poppyseeds, they have an extra bit of crunchy texture in there- I really enjoyed them and I hope you do too. 

Lemon Friands (makes approx. 25)

Ingredients
195 g (1 1/2 cups) pure icing sugar, sifted (I have used icing mixture and they have worked fine)
75 g (1/2 cups) plain flour
155 g (1 1/2 cups) almond meal
3 eggs, lightly whisked
180 g unsalted butter melted and cooled (so you don't cook the eggs)
1 large lemon or 2 small lemons, zested and juiced
1/8 cup poppyseeds

Method

1. Preheat the oven to 180 degrees celcius.
2. Melt and cool the butter (using the microwave is fine).
3. Grease you mini muffin pan or friand pan.
4. Combine, sugar, almond meal and plain flour in a bowl and make a well in the centre.
I used organic almond meal which gave the friands some colour, if you don't want this just use blanched almond meal.

5. Add the eggs and butter and mix until well combined.
The eggs and butter in the well.

6. Add the lemon zest, and juice and the poppyseeds and stir through.

Mixing in the lemon and poppyseeds. 

7. Fill your muffin pan with the mixture and bake for 15-20 mins or until golden on top.
Mini friands ready to be baked.
 
All nice and golden and yummy.

8. Dust with some icing sugar and serve. 
Nom Nom! So lemony and delicious! 

So to summarise:

Lemon Friands (makes approx 25)

Ingredients
195 g (1 1/2 cups) pure icing sugar, sifted (I have used icing mixture and they have worked fine)
75 g (1/2 cups) plain flour
155 g (1 1/2 cups) almond meal
3 eggs, lightly whisked
180 g unsalted butter melted and cooled (so you don't cook the eggs)
1 large lemon or 2 small lemons, zested and juiced
1/8 cup poppyseeds

Method

1. Preheat the oven to 180 degrees celcius.
2. Melt and cool the butter (using the microwave is fine).
3. Grease you mini muffin pan or friand pan.
4. Combine, sugar, almond meal and plain flour in a bowl and make a well in the centre.
5. Add the eggs and butter and mix until well combined.
6. Add the lemon zest, and juice and the poppyseeds and stir through.
7. Fill your muffin pan with the mixture and bake for 15-20 mins or until golden on top.
8. Dust with some icing sugar and serve.
9. Enjoy!

These little guys are so easy to make! So why not have a go? 

Are you afraid to attempt to cook any food in particular?

Thursday 27 March 2014

Zucchini cupcakes

This year has been the first year that we have been able to have a veggie patch and grow some of our own fruit and vegetables. We had peas, strawberries, beans, spaghetti squash and zucchini (boy did we have zucchini). Our zucchini plant went crazy and produced heaps of zucchini and some even grew to be giant (2.2 kg). I had to find things to do with said zucchini, so I made zucchini lasagne (when you use zucchini as pasta sheets), zucchini pizza (where you use grated zucchini as the base), zucchini bread and of course zucchini cupcakes. 

Zucchini cupcake

This recipe turned out really well, the resulting cupcakes were moist and delicious with a nice bit of spice. The icing is really easy to make and with it's hint of lemon zest, it really compliments the flavours of the muffins. These cupcakes are also OK for all our gluten-free friends out there!

So here we go: 

Zucchini cupcakes with coconut frosting
 You can see one of our giant zucchinis here.

Ingredients

Cakes

1/2 cup coconut flour
1/4 tsp salt
1/4 tsp baking powder
4 eggs
1/4 cup coconut oil
1/3 cup honey
3/4 cup finely grated zucchini
1/2 tsp mixed spice

Frosting

1 can of coconut milk refrigerated overnight and the cream scraped off the top.
1 tbsp maple syrup
1 tsp vanilla extract
1/4 tsp lemon zest
50 g powdered coconut milk
1 tbsp butter
1/4 cup coconut oil
1 tbsp coconut flour

1. Preheat oven to 175 degrees C. Place coconut flour, salt, mixed spice and baking powder into a food processor and blend until combined.


2. Add eggs, honey, coconut oil and blend until combined.


3. Stir through grated zucchini.


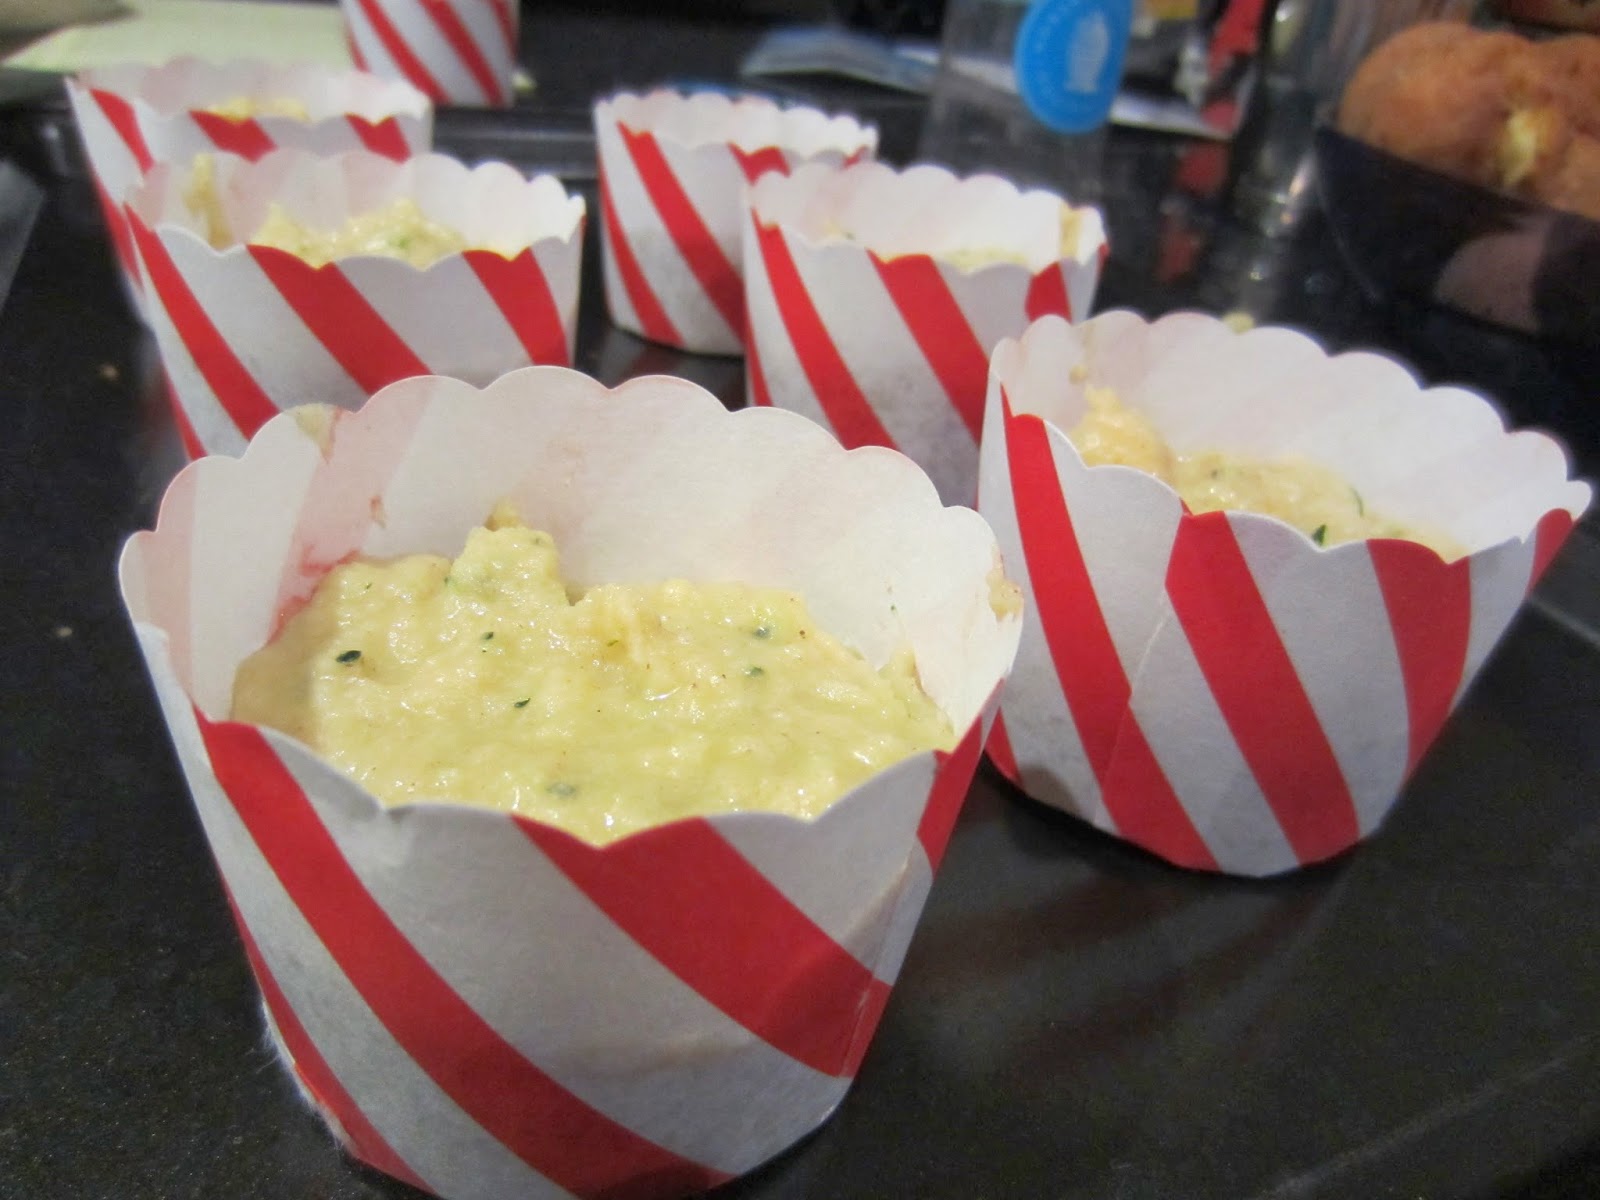
4. Put into baking cups and bake for 20-25 minutes or until cooked through.


5. Let cool before icing

To make icing:
1. Place all ingredients in food processor and blend until smooth.
2. Pipe or spread onto cupcakes.
3. Enjoy!
Zucchini cupcakes! Yum!

Recipe

Zucchini cupcakes with coconut frosting

Ingredients

Cakes

1/2 cup coconut flour
1/4 tsp salt
1/4 tsp baking powder
4 eggs
1/4 cup coconut oil
1/3 cup honey
3/4 cup finely grated zucchini
1/2 tsp mixed spice

Frosting
1 can of coconut milk refrigerated overnight and the cream scraped off the top.
1 tbsp maple syrup
1 tsp vanilla extract
1/4 tsp lemon zest
50 g powdered coconut milk
1 tbsp butter
1/4 cup coconut oil
1 tbsp coconut flour

1. Preheat oven to 175 degrees C. Place coconut flour, salt, mixed spice and baking powder into a food processor and blend until combined.
2. Add eggs, honey, coconut oil and blend until combined.
3. Stir through grated zucchini.
4. Put into baking cups and bake for 20-25 minutes or until cooked through.
5. Let cool before icing

To make icing:
1. Place all ingredients in food processor and blend until smooth.
2. Pipe or spread onto cupcakes.
3. Enjoy!

These last in the fridge for 5 days.