So, when we last spoke, I left you waiting for the icing and decorating of the cake. Well, the icing for this cake was a Swiss meringue buttercream which has become my favourite type of buttercream and is now my go to for icing cakes. The reasons I love this buttercream is that it's smooth, and light and fluffy and it sets nice and solid. Some buttercream recipes end up with a really gritty mixture which is not really butterCREAM but more like butterPASTE and I really do not enjoy the texture. I feel that this meringue buttercream is a more classy and delicious version of this type of icing (you know the stuff you find on kids birthday cakes). The recipe I use is from Brave Tart and it goes as follows...
Swiss Meringue Buttercream
Ingredients
285 g egg whites (ones from the carton work well and there is no yolks to use up afterwards)
285 g sugar
1/2 tsp salt
900 g unsalted butter, at room temperature and chopped into 2 cm cubes
1 tbsp vanilla extract
Method
Place
egg whites, sugar and salt into a heatproof bowl (the bowl of your
electric mixer would be good). Put the bowl over a saucepan of steaming
water (does not need to be boiling too much but needs to be steaming)
and heat to 70°C
stirring with a whisk occasionally. The mixture does not need to be
whisked too much, it just needs to be stirred enough to ensure that the
egg doesn't cook on the sides of the bowl. Once the mixture has reached 70°C,
take it off the heat and beat with your whisk attachment until it has
cooled (about 15 minutes). Make sure that you test the mixture as well
as the bowl when testing the temperature as the bowl will often keep the
heat longer than the mixture. Once the mixture has cooled to room
temperature, begin adding the butter one piece at a time until it is all
mixed in. Once all of the butter has been added, scrape the sides of
the bowl to ensure all of the butter is mixed through and add the
vanilla essence (taste the icing and add more essence if needed). Your
buttercream is now ready to use.
Note:
If you don't wait for your egg white mixture to cool properly your
butter will melt when you are incorporating it and it can cause issues
with your buttercream. The cooling takes a while but it is worth
waiting.

The Kitchen Aid getting a good workout making the buttercream.
So once all of the cakes were cooked, we had to cool them because it's a lot easier to ice a cake when it is cool.
Now, Dr. L has a pretty small fridge, so it was fun trying to fit all
the cakes in especially since we had held a kitchen tea party a few days
before with SO much left over food but we did it (using our awesome Tetris skillz)!

The fridge with the top three cake layers in it
To
prepare the cakes, I first punched a hole into each cake board to make
sure that it would sit on the cake plates that I had decided to use for
the structural support for the cake.

Cake board with hole punched in it so that the spike on the cake plate would fit through it
Next, I put icing on the board to hold the cake in place and then I
placed each cake onto it's own cardboard cake board (the boards were
the same size as the cakes so we would not see them once the cake was on
it). Then I iced the cakes using my bakers blade to smooth it all out.

The cake board with icing on it to hold the cake in place
We
made the vines for around the cakes out of modelling chocolate.
Modelling chocolate is is basically melted chocolate mixed with glucose
syrup. I hadn't had many problems with the modelling chocolate recipe
before but for this, the modelling chocolate just kept turning out rock
hard and near impossible to push through the extruder. It was giving us
such a headache (or hand ache from pushing it through the extruder) I
started googling what could be going wrong as it had happened with
several batches of modelling chocolate. Through this research, I read
somewhere that some people add water to their glucose syrup before
adding it to the chocolate so we tried it out and it worked a treat- no
more rock hard modelling chocolate!! I think due to the difference in
altitude between Canberra (approx 571 m) and Adelaide (average approx.
56), the glucose syrup was a lot more viscous in Adelaide which made the
resulting modelling chocolate a lot harder. This is my theory on the
subject as the temperatures were similar at that time of year. We ended
up with enough vines for the cake so that is all that matters. We
decorated all of the cakes and then refrigerated them until we could
take them to the venue for setting up.
When
we got to the venue, they had not been told the cake was coming so
weren't prepared to store it so we had to arrange to set the cake up on
the day of the wedding. I was not able to do it as, being the maid of
honour, I had to go to the salon to have my hair and make-up done so it
was left in the hands of my partner Mr T and his helpers Eszrae and Bec
who were also partners of people in the bridal party. They did a great
job. When they got there, they found that due to the moisture in the
cool room (which turned out to be a lot more moist than a normal
domestic refrigerator) the vines had started melting so they did their
best to soak up all of the drips then assembled it and did a great job. A tip
for all of you who decide to make a wedding cake- be careful of your
decorations and putting them into a cool room- they may melt!

Look closely and you will see the melted chocolate vines
In
the end, the guys did a great job at assembling the cake and it turned
out pretty well (I even got a compliment from the chef saying that it
was one of the best he had seen - I was proud). I actually enjoyed
making this cake even though it was a bit stressful but the result
turned out pretty good! Thank you to everyone who helped out (Lauren,
Nikki, Denise, Elise, Bec, Eszrae, Tyson and Louise for the use of her
Kitchen Aid). Go team!
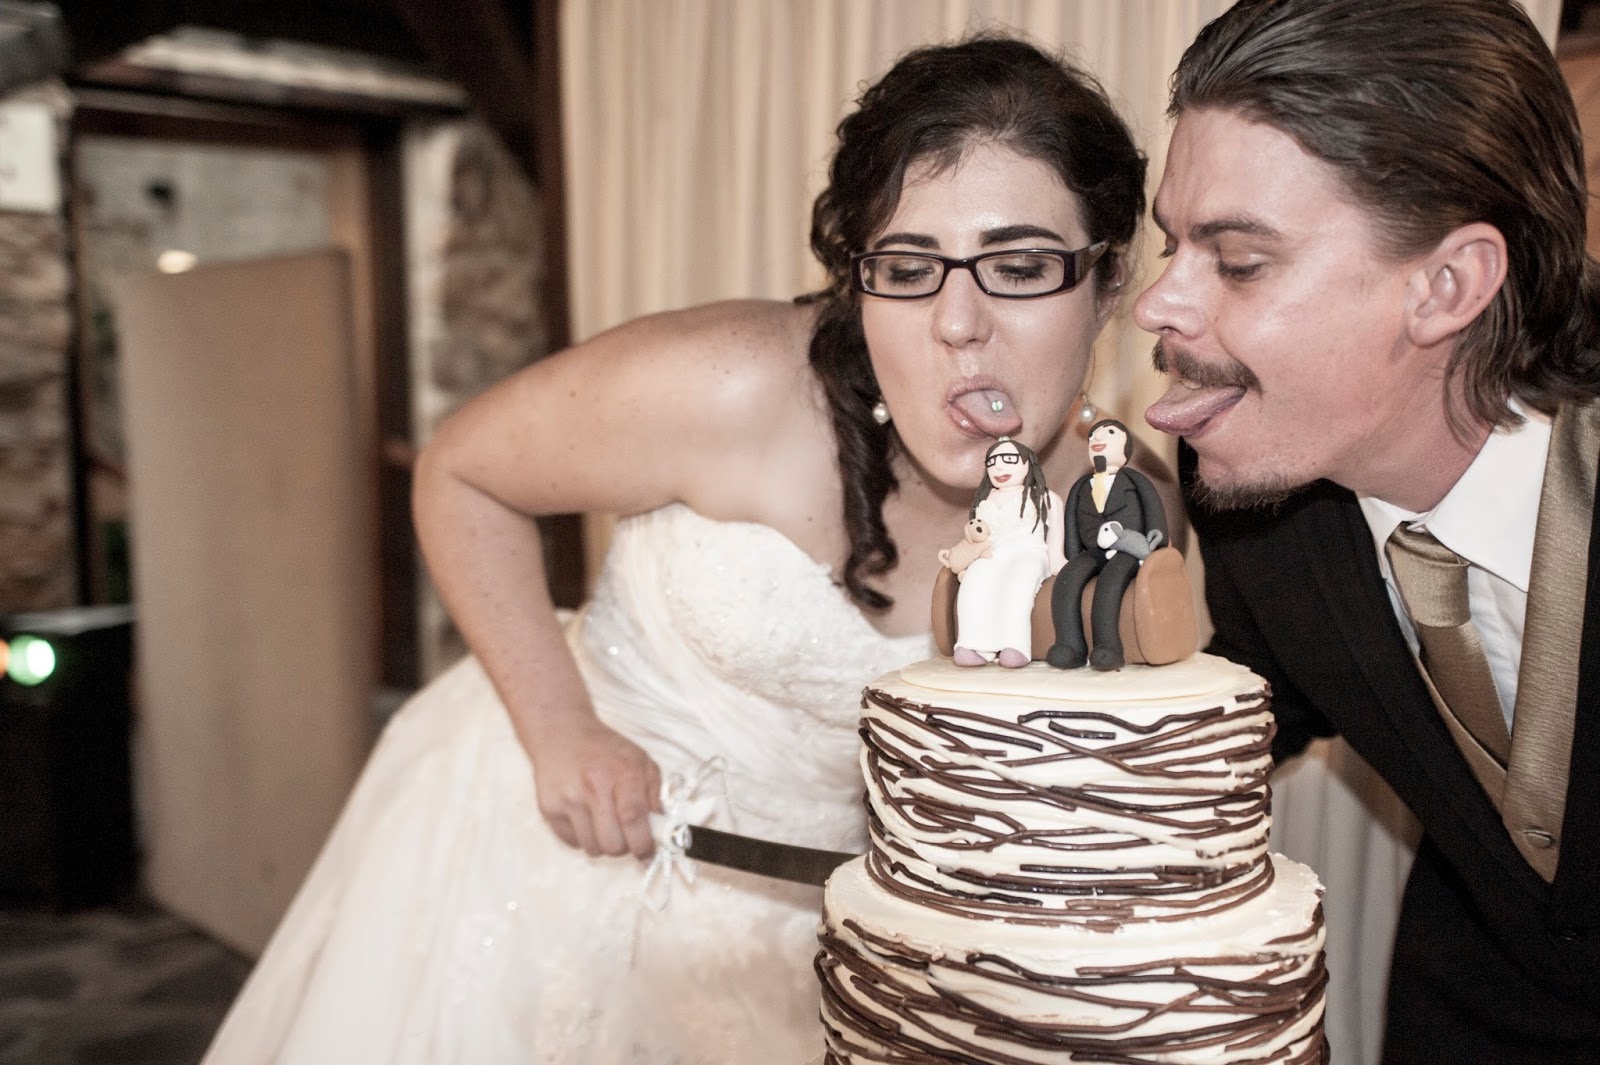
I'll leave you with some happy snaps with the cake, thanks to Megan from Emelaine photography...


No comments:
Post a Comment